
The art of creating and managing your project's workflow

As the CEO of a film studio, mentoring newcomers who are eager to build successful careers in the film industry often involves sharing some of the most practical tools of the trade. One essential tool I try to stress is the use of a project workflow manager like JIRA. It is critical that the management of time and resources are front and center of any production. You project’s JIRA worksheet provides valuable insights to help everyone throughout your company better visualize where the project sits at any given moment. This is important for scheduling, updates to investors, progress sheets, time allocation, budget, cast, crew, development milestones and so much more. Think of it as a comprehensive guide that touches every aspect of a production, from inception through its completion.
I start by showing how the workflow documents bring order and clarity to a project. “See, here we map out every task, assign responsibilities, and set deadlines,” I explain, pointing to the document on my screen. “This ensures that everyone, from the scriptwriters to the editors, knows exactly what needs to be done and when. It’s your blueprint for staying organized.” A great part of the workflow manager program is that it entitles the project owner (You) to check in on the progress of each associate involved in their part of any given production. This is both rewarding in the efficiency of the overall schedule, but also indicative of any traps of failure you may experience when managing the associates involved.
I try to illustrate how the workflow sheet facilitates communication. “It’s like having a conversation through the document,” I tell them. “Every team checks this sheet, updates their progress, and flags any issues. It’s how we ensure everyone is aligned and moving in the same direction without constant meetings.” Critical! I then show how the workflow sheet helps in managing resources. “Look here,” I say as we go over sections detailing equipment and personnel allocation. “This helps us ensure that our resources—people, cameras, even locations—are used efficiently. We avoid overbooking, underutilizing, and straining resources, keeping the project financially viable and on schedule.”
During our sessions, I like to highlight how the workflow sheet aids in maintaining productivity. “Notice how we identify bottlenecks early?” I point out. “We can adjust workflows on the fly, addressing issues before they delay the project. It keeps the momentum going and helps meet production targets.” Accountability is another lesson I showcase. “Each person knows their tasks and deadlines,” I explain. “It creates a culture of responsibility. Everyone owns their part, and that ownership is crucial for personal and project success.” Finally, never forget that risk management is also central to running a tight ship. “By mapping out the project in a comprehensive manner, we can foresee potential problems and strategize on solutions in advance,” I note. “It’s about being proactive, not reactive, which is a golden rule for managing any large-scale project.”
Finally, I wrap up by discussing the role of workflow sheets in decision-making and reflection. “After each project, we review this sheet. It tells us what went right and what didn’t,” I tell them. “It’s invaluable for making informed decisions during the project and learning lessons for future projects.”
Through these mentoring sessions, I aim to show how integral a well-crafted workflow sheet is in managing film projects effectively. It’s a practical tool that embodies the discipline, foresight, and structured thinking necessary to succeed in the film industry.
Here’s a detailed guide on how to create an effective worksheet:
1. Define the Scope of the Project
Before you create your workflow sheet, understand the scope of your project. Determine the type of film, the key deliverables, the budget, and the timeline. This will help you identify what needs to be included in your workflow sheet.
2. List Key Production Phases
Divide the entire film production into key phases. Typically, these are:
- **Pre-production**: Scriptwriting, budgeting, casting, location scouting, and planning.
- **Production**: Actual shooting/filming.
- **Post-production**: Editing, visual effects, sound design, and color grading.
- **Distribution**: Marketing, film festivals submissions, and release.
3. Assign Tasks and Deadlines
Break down each phase into specific tasks and assign realistic deadlines for each. For example, in pre-production, you might include:
- Finalize script by [Date].
- Complete budget approval by [Date].
- Cast roles by [Date].
- Scout and secure locations by [Date].
4. Designate Responsibility
For each task, assign team members who will be responsible. Ensure everyone knows their responsibilities and the expectations tied to their roles. For instance:
- Scriptwriter: Finalize the script.
- Producer: Approve the budget.
- Casting Director: Cast roles.
5. Include Checkpoints and Approval Points
Identify critical stages where progress checks or approvals are required. This ensures that the project stays on track and that any issues are addressed promptly.
6. Utilize Tools for Workflow Management
Consider using project management tools like Trello, Asana, or Monday.com to keep track of the workflow. These tools allow you to:
- Create tasks and subtasks.
- Set deadlines and reminders.
- Assign tasks to individuals or teams.
- Track progress visually.
- Collaborate and share files.
7. Integrate Communication Channels
Ensure that there are defined channels for communication (e.g., weekly meetings, daily reports, Slack channels) to keep everyone updated and engaged.
8. Review and Adjust
Regularly review the workflow sheet with your team to make any necessary adjustments. This can be crucial as unforeseen challenges might require you to adapt your original plan.
9. Document and Archive
Keep detailed records of all stages of production. This documentation will be invaluable for post-mortems, future projects, and for resolving any disputes that might arise.
10. Feedback and Improvement
After the completion of the project, gather feedback on the workflow’s effectiveness. Use this to improve the workflow sheets for future projects.
Sample Workflow Template
When creating any project we strongly recommend using a project tracking system like JIRA when setting up any production workflow. JIRA, now known as Jira Software after being rebranded and managed by Atlassian, is a popular project management tool used primarily for bug tracking, issue tracking, and agile project management. It’s extensively utilized in software development but also adapted for various types of project management tasks including in fields like marketing, HR, and operations.
Key Features of Jira
Issue and Project Tracking: At its core, Jira allows teams to track issues, tasks, bugs, and feature requests. Each task can be customized with different statuses, and the workflow can be configured to match the team’s process.
Agile Boards: Jira supports Scrum and Kanban boards which help teams manage complex projects by visualizing the workflow, identifying bottlenecks, and maintaining continuous improvement.
Roadmaps: Jira Roadmaps are used for planning and visualizing a project’s timeline, showing how tasks and projects align with product strategy and deadlines.
Reports and Dashboards: The platform provides detailed reports and dashboards that offer insights into project metrics and progress, such as velocity charts, burn-down charts, and more.
Integrations: Jira integrates with a multitude of other tools including Confluence, Bitbucket, and various development, communication, and collaboration tools, enhancing its functionality.
Customizable Workflows: Workflows can be tailored extensively to fit a team’s specific needs, allowing for custom status transitions, notifications, and permissions.
Marketplace: Jira offers access to thousands of plugins through its marketplace that extend its capabilities, from time tracking to enhanced reporting and automation.
Common Use Cases
- Software Development: Tracking the progress of new features, managing backlogs, and maintaining releases.
- Bug Tracking: Logging, tracking, and resolving bugs effectively within the software development lifecycle.
- Operational Projects: Managing tasks and activities for operations teams, including scheduling and resource allocation.
- HR Management: Overseeing onboarding tasks, employee records management, and other HR processes.
Setting Up Jira for a Project
- Create a Project: Define your project type (Software, Business, Service Desk) and configure the basic settings.
- Configure Issue Types: Set up various issue types that your team will use (e.g., Task, Bug, Story).
- Set Up Boards: Create and customize boards that reflect your team’s workflow.
- Define Workflows: Tailor workflows for different issue types with specific steps and transitions.
- Add Users and Roles: Invite team members and define their roles and permissions within the project.
- Integrate Tools: Connect Jira with other tools you use for development, communication, or documentation.
- Customize with Add-Ons: Enhance Jira’s functionality by installing add-ons from the Atlassian Marketplace.
Jira is a robust tool that can be complex, so it often requires some initial setup and learning to make the most of its features, but its flexibility and wide range of functions make it a staple in many industries beyond just software development.

Here’s a simplified example of what part of your workflow sheet might look like for the pre-production phase:
Sample Pre-Production Workflow Sheet
| Phase | Task | Responsible | Deadline | Status | Notes |
|---|---|---|---|---|---|
| Pre-production | Finalize Script | Scriptwriter | YYYY-MM-DD | Pending | First draft completed |
| Pre-production | Approve Budget | Producer | YYYY-MM-DD | On Track | Review meeting scheduled |
| Pre-production | Cast Main Roles | Casting Director | YYYY-MM-DD | At Risk | Auditions ongoing |
| Pre-production | Secure Filming Locations | Location Manager | YYYY-MM-DD | Done | All locations secured |

Here’s a simplified example of what part of your workflow sheet might look like for the In-production phase:
Sample In-Production Workflow Sheet
| Phase | Task | Responsible | Deadline | Status | Notes |
|---|---|---|---|---|---|
| Production | Setup equipment on location | Technical Director | YYYY-MM-DD | Pending | All gear checked and ready |
| Production | Shoot Scene 1: Interior | Director, Cinematographer | YYYY-MM-DD | On Track | Lighting adjusted for mood |
| Production | Review daily footage | Editor, Director | YYYY-MM-DD | At Risk | Review for reshoots needed |
| Production | Shoot Scene 2: Exterior | Director, Cinematographer | YYYY-MM-DD | Done | Weather conditions perfect |
| Production | Wrap up and equipment storage | Production Assistant | YYYY-MM-DD | Pending | Ensure all gear is secure |
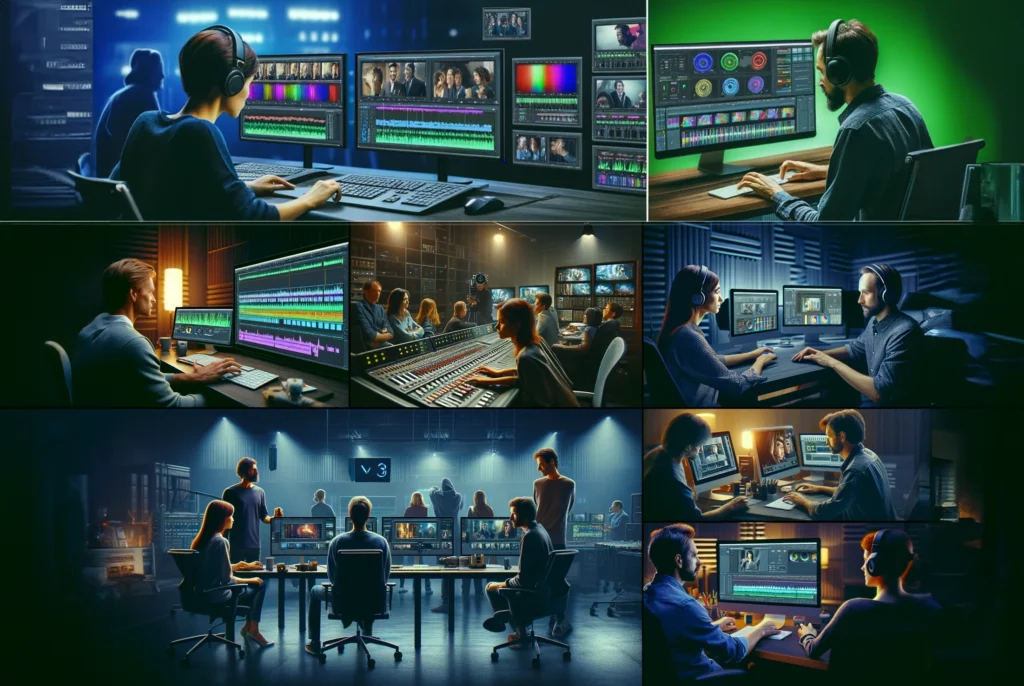
For the post-production phase of a commercial project, the workflow sheet will focus on tasks related to editing, sound, color grading, and final delivery. Below is a detailed example of what part of the workflow sheet might look like for this phase, and a visual representation of the tasks:
Workflow Sheet for Post-Production Phase
| Phase | Task | Responsible | Deadline | Status | Notes |
|---|---|---|---|---|---|
| Post-Production | Edit initial footage | Editor | YYYY-MM-DD | Pending | Initial cut for review |
| Post-Production | Sound editing and mixing | Sound Engineer | YYYY-MM-DD | On Track | Syncing sound to video |
| Post-Production | Color correction | Colorist | YYYY-MM-DD | At Risk | Adjusting colors for consistency |
| Post-Production | Visual effects integration | VFX Team | YYYY-MM-DD | Done | All effects successfully integrated |
| Post-Production | Final review and adjustments | Director | YYYY-MM-DD | Pending | Final cut adjustments needed |
| Post-Production | Render final product | Technical Director | YYYY-MM-DD | On Hold | Awaiting final approval |
| Post-Production | Distribution setup | Marketing Manager | YYYY-MM-DD | Pending | Preparing for launch |