Lighting and Exposure in Digital Cinematography
Lighting plays a pivotal role in digital cinematography, not just in illuminating a scene, but in shaping the visual narrative, setting the mood, and guiding the viewer’s focus. Here are several key lessons on lighting that are essential for aspiring cinematographers:
Cinematography Basics: An in-depth look at the Three-Point Lighting System
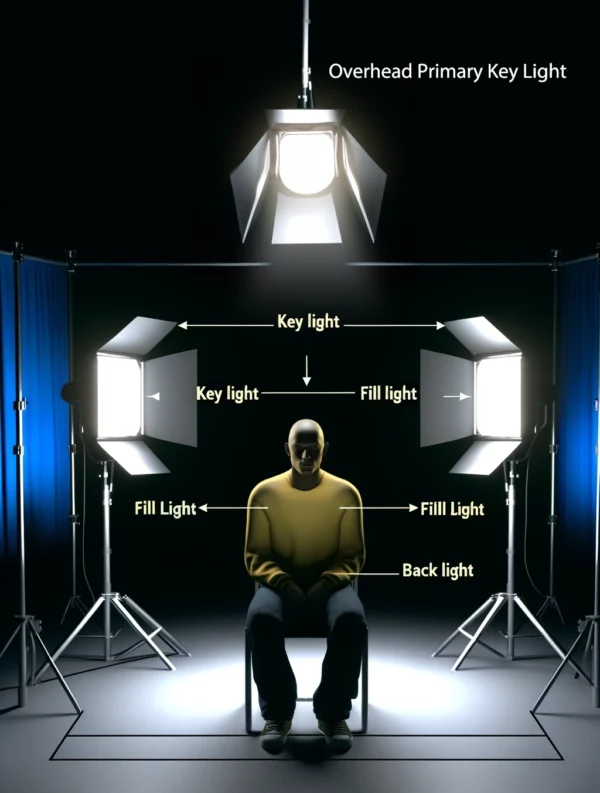
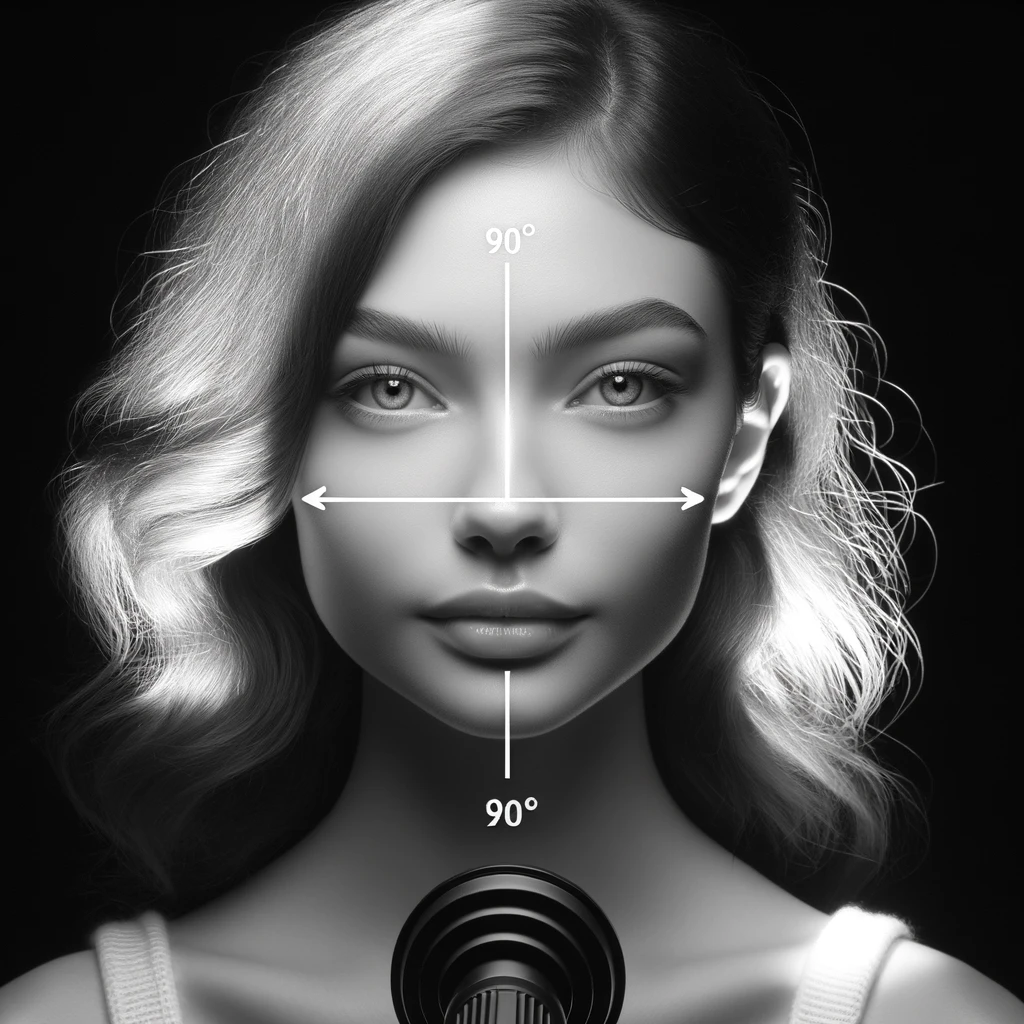
A key light in photography is the primary source of light used to illuminate the subject. It’s the most important and usually the brightest light in a lighting setup, setting the overall tone, mood, and direction of the shadows in the image. Positioned strategically, often at a 45-degree angle to the subject, the key light shapes the scene and defines the texture, contrast, and shadows, playing a crucial role in the visual storytelling process.
The choice of key light, its placement, and its intensity directly influence the appearance of the subject and the atmosphere of the photograph.Here’s a concise guide to effectively setting up a key light and utilizing various filmmaking elements to enhance the mood of your photographic direction. The ‘Key Light’ is your main source of light for a given scene, typically positioned at a 45-degree angle to the subject. It establishes the overall look and feel of the subject matter being filmed. This covers animated as well as stationary objects, people, characters, vehicles, products and more.
What is critical to the success of your scene is being able to identify the Mood of the scene as it relates to your subject matter: Begin by determining the atmosphere you aim to create. The key light’s position, intensity, and color significantly influence the scene’s emotional tone. Understanding the narrative’s emotional arc is critical. Deep analysis of the script helps in grasping the intended emotions, allowing you to visualize how lighting, colors, and camera angles can mirror the scene’s mood.
There are additional important factors to consider having to do with lighting techniques: The techniques include how the placement and characteristics of the primary key lights are instrumental in mood alteration. For example, Soft, diffused lighting can imply warmth and safety, whereas harsh, direct lighting may introduce conflict or mystery. The color temperature further aids in setting the mood—warm tones often denote comfort, while cool tones can suggest detachment. In your visual effects pipeline you should have some experience with color grading. Color grading and the use of filters are powerful tools in mood adjustment. They can intensify or soften the scene’s emotional impact, enhancing the narrative through visual means. There are several applications in your armory that should have built-in LUTs or color lookup tables, to help you shortcut apply color tones and grades to digital clips in your production.
Visual Composition: The framing and movement of the camera contribute significantly to the conveyed mood. Strategic framing can underscore loneliness or intimacy, while the nature of camera movement—steady or shaky—can evoke stability or tension.
Setting and Design: The environment, props, and costumes are not mere backdrops but active mood enhancers, providing context and depth to the characters and their stories.
Creative Experimentation: Don’t hesitate to experiment with these techniques to find what best aligns with your vision. Feedback from others can offer new perspectives on the mood you’re crafting.
Mastering the mood in digital filmmaking requires a blend of technical proficiency and emotional insight.
Through the thoughtful application of the following principles, filmmakers can weave compelling visual stories that deeply engage audiences. Understanding the emotional arc of a story is paramount in cinematography, as it directly influences how the audience connects with the narrative. Through analysis of a script, the Director of Photography, or DP can help filmmakers grasp the narrative’s essence, character dynamics, and pivotal moments, ensuring each scene effectively evokes the intended emotions.
Moreover, the composition and movement of the camera are powerful tools for expressing the characters’ emotional states or the dynamics of their relationships. The framing of subjects and the steadiness or shakiness of the camera can significantly affect the scene’s mood.
Aural-Audio Elements
A carefully selected score or ambient sound significantly enhances a scene’s atmosphere, making it more immersive and emotionally impactful. The integration of sound and music is crucial; the appropriate background score or ambient noises can substantially deepen a scene’s emotional resonance. Likewise, environmental and set design—from the location to props and costumes—bolster the mood and facilitate a deeper audience connection with the characters. Experimentation and feedback are essential in the filmmaking process, allowing directors to refine their techniques and ensure the atmosphere aligns with their artistic vision. This comprehensive approach, which merges technical editing prowess with a deep emotional understanding of the film’s narrative and visuals, fosters the creation of compelling and emotionally resonant cinema.
Lighting elements to make the scene more effective
Selecting the correct light source for the scenes primary key light is a crucial decision in setting up lighting for Cinematographers. Your options range from dedicated studio lights, such as LED panels or fresnel lights, to natural light streaming in from a window, or even practical lights present within the scene. The decision should align with your vision the desired mood of your scene and the resources at your disposal. Each type of light source brings its own set of characteristics and challenges, influencing not just the look and feel of your shot but also the logistical aspects of your production. Once you’ve selected your light source, positioning the key light becomes your next focus.
To introduce depth and dimension to your subject, place the key light at an angle. A commonly used setup is the 45-degree lighting angle, where the light is positioned both 45 degrees to the side and 45 degrees above the subject. This setup, however, is merely a starting point; adjustments should be made to tailor the shadows and highlights to your visual goals. The proximity of the light to the subject also plays a significant role—closer positioning results in a softer, more intense light, whereas a light placed further away yields a harder, less intense illumination.
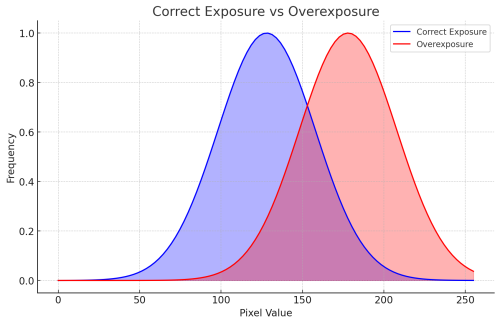
(white and black, respectively). Overexposure reduces the effective dynamic range of an image because the bright areas
lose detail and nuance, flattening the image and making it look washed out.
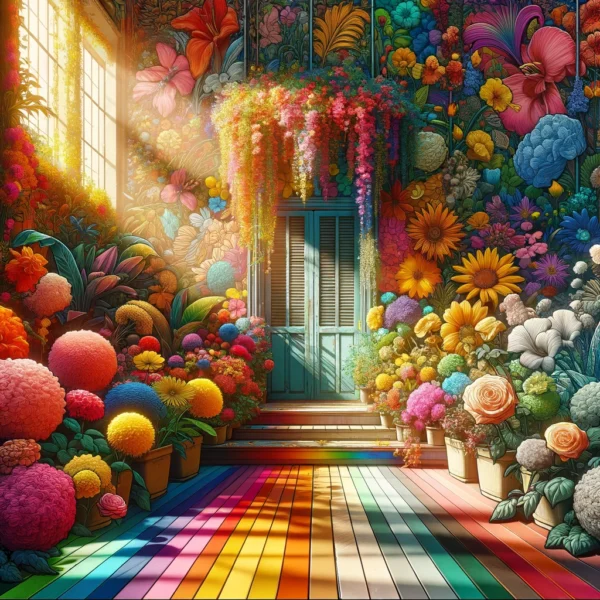
Color Saturation and Accuracy: Overexposure can lead to washed-out colors, reducing the vibrancy and accuracy of the hues in the image. This can affect the mood and tone of the scene, as colors play a significant role in visual storytelling.

Lighting Angles and how they affect overall moods in photographic shots
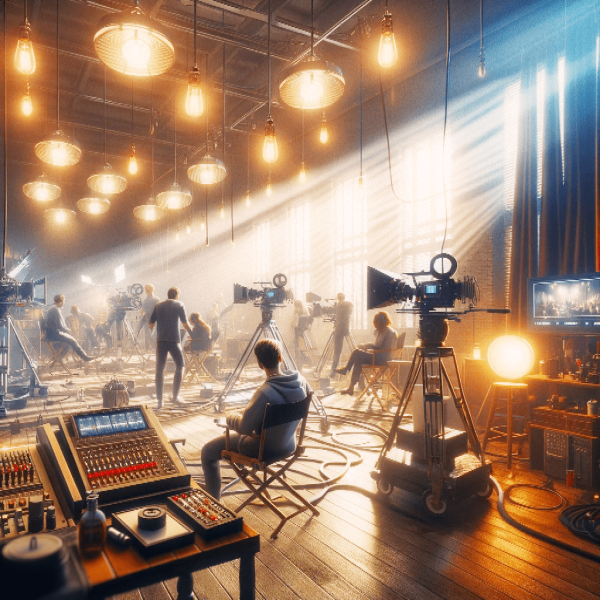
Most professional DP’s utilize light angles to refine the quality of the three key lights, while also incorporating light modifying tools such as soft boxes, umbrellas, and diffusion covers which can help direct and/or soften the projected light. These techniques minimizing harsh shadows for a more flattering effect on the subject. Additionally, reflectors or flags can be invaluable for directing or blocking light, thereby sculpting its impact on the scene.
Adjusting the intensity of your key light is crucial for achieving the correct exposure. It’s important to find a balance with your camera’s settings—ISO, aperture, and shutter speed—to ensure the subject is illuminated adequately without being overexposed. Utilizing a light meter or your camera’s histogram can aid in accurately assessing exposure levels.
Once your key light is in place, take a moment to evaluate its interaction with the subject and the surrounding environment. Be on the lookout for any distracting shadows or highlights. The background and other scene elements should also be considered; the goal is for the key light to focus on the subject without causing unwanted spill or glare.
Fine-tuning involves making precise adjustments to the key light’s position, intensity, or diffusion to enhance the scene. Even minor changes can significantly affect the visual outcome. At this stage, you might also explore the addition of fill lights or backlights to achieve a more balanced and dimensional lighting setup. Don’t hesitate to experiment with various lighting configurations. Each subject and scene presents its own set of challenges and opportunities, and discovering the ideal lighting arrangement often demands a willingness to try different approaches.
Fill and Back lighting techniques:
The following lighting techniques allow for more accurate modification of lighting a scene to further affect the overall mood of the shots you setup.
• Fill Light: Used to soften and reduce the shadows produced by the key light, placed on the opposite side of the key light, often at a lower intensity.
• Back Light (or Hair Light): Positioned behind the subject to help separate them from the background, adding depth and dimension to the image.
Quality of Light –
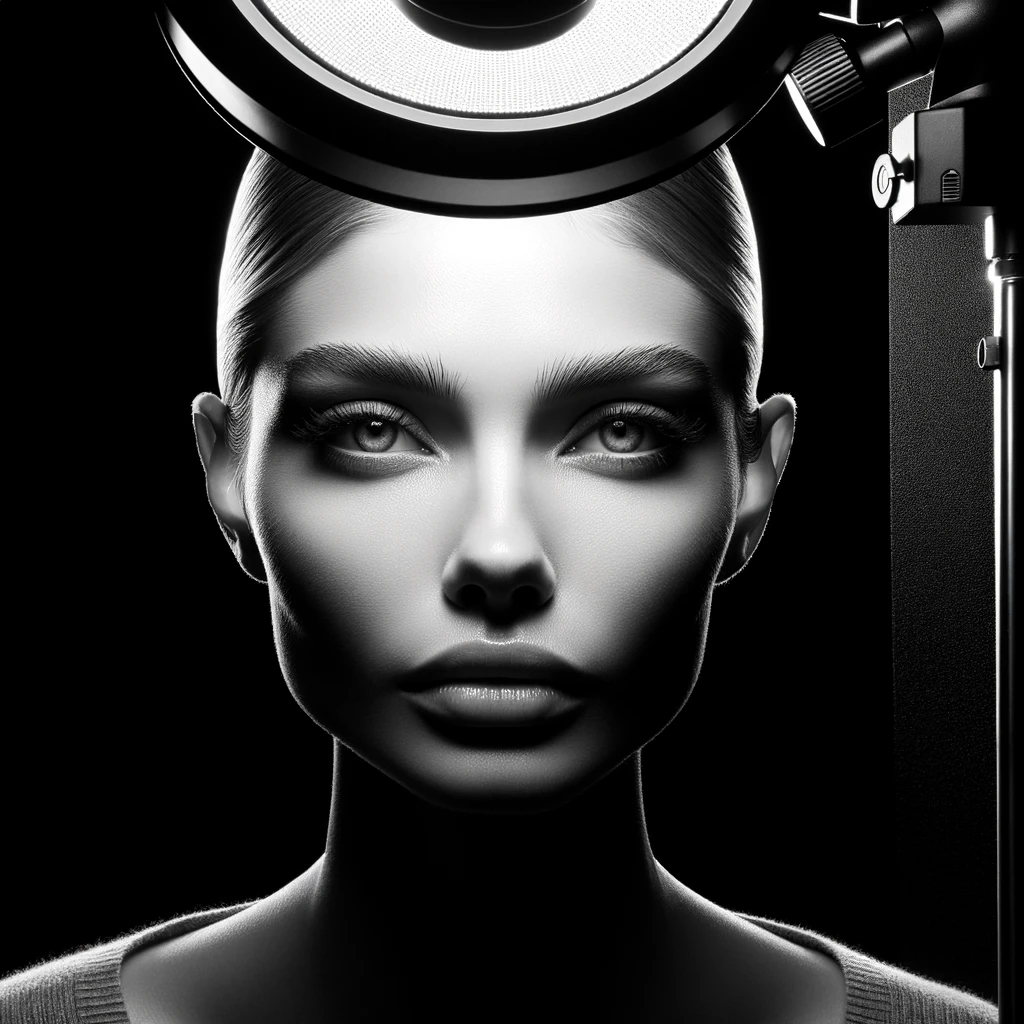
For film cinematography, the “quality of light” refers to the characteristics of light within a scene, including its hardness or softness, direction, color temperature, and intensity. These qualities can significantly affect the mood, atmosphere, and visual narrative of a film. The quality of light is manipulated to enhance the visual storytelling, creating specific feelings and guiding the viewer’s attention to elements within the frame.
Hard light creates sharp, well-defined shadows and is typically associated with intensity and drama. It can convey a sense of harsh reality or stark emotion, whereas soft light diffuses more evenly while producing soft shadows or no shadows at all. This is a critical tool which can suggest gentleness, romance, or a more flattering portrayal of subjects.
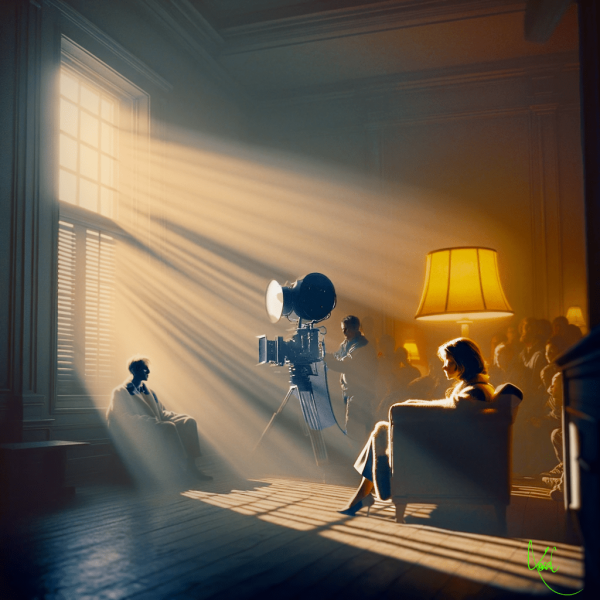
The Direction of light (e.g., front, side, back) can dramatically alter the perception of a scene, character, or object, influencing the mood and the spatial dynamics within the shot, and goes hand in hand with the Color temperature which refers to the warm or cool tones of the light and also affects the emotional tone of the scene for the viewer. Warm light often evokes feelings of comfort and intimacy, while cool light can suggest detachment or tension.
Intensity involves the brightness level of the light, which can create contrasts, focus attention, or set a particular time of day.
To visualize these concepts, let’s create a photorealistic image that showcases the quality of light in a cinematic context. This image will feature a scene with dramatic lighting, emphasizing the contrast between hard and soft light, and showcasing the effects of different light directions and color temperatures on the subjects’ emotions and the overall mood of the scene.
Color Temperature
• Understanding color temperature, measured in Kelvin, is crucial. Different light sources emit light of different color temperatures; for example, daylight is cooler (blue-toned) and tungsten lights are warmer (yellow-toned). Balancing or creatively using color temperature can dramatically affect the mood and realism of scenes.
High Key and Low Key Lighting
• High Key Lighting: Characterized by brightness, low contrast, and a lack of dark shadows. Often used in comedies and light-hearted scenes.
• Low Key Lighting: Features high contrast, strong shadows, and a limited lighting setup. It’s typically used in thrillers, dramas, and to create suspense or mystery.
Practical Lights
• Incorporating practical lights (lamps, streetlights, candles) within the scene can add realism, depth, and texture. They can also guide the viewer’s focus and contribute to the scene’s mood.
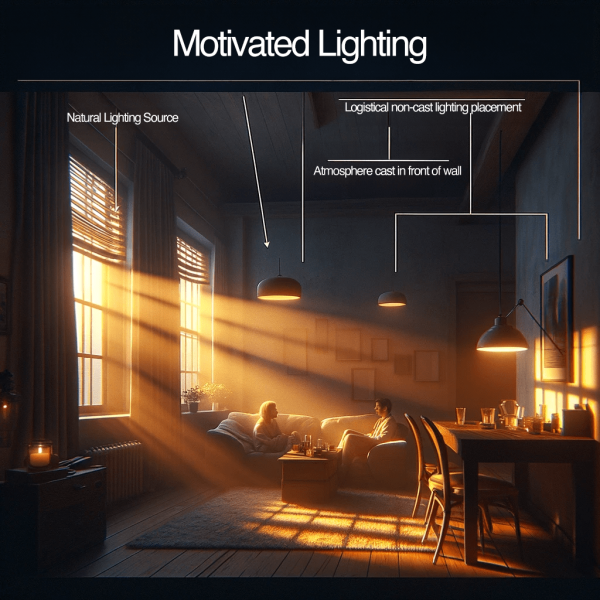
Motivated Lighting
• Motivated lighting involves using light sources that mimic natural light, such as windows or other logical light sources within the scene’s setting. This approach enhances realism and can reinforce the time of day and atmosphere.
Use of Shadows
• Shadows can be as important as the light itself. They can add mystery, shape, and form, contributing to the narrative and emotional depth of the scene.
The Role of Post-Production
Digital cinematography doesn’t end with capturing the footage; lighting can be adjusted and enhanced in post-production. Techniques like color grading can further shape the mood, enhance the visual style, and correct any inconsistencies. Overexposure in photography and cinematography occurs when too much light hits the camera’s sensor or film, leading to a loss of detail in the brightest parts of the image. While creative intentions can sometimes call for a specific look that might include some level of overexposure, generally, it’s considered detrimental to achieving a great shot for several reasons.
• Loss of Detail: The most significant issue with overexposure is the loss of detail in highlights. Once an area of the image becomes pure white, all the detail in that part of the scene is lost. This can be particularly problematic for important elements like facial expressions, textures, and backgrounds, which are crucial for the narrative and aesthetic value of the image.
Understanding Distribution Channels
The distribution of digital video content has expanded dramatically with the advent of the internet and digital technologies, offering a wide range of channels to reach audiences worldwide. Here are some of the primary distribution channels for digital video content:
Streaming Services
Subscription Video on Demand (SVOD): Platforms like Netflix, Amazon Prime Video, Hulu, and Disney+ allow users to access a vast library of movies, TV shows, and documentaries for a monthly subscription fee. Ad-Supported Video on Demand (AVOD): Services like YouTube, Tubi, and Pluto TV offer free content supported by advertisements. Transactional Video on Demand (TVOD): Platforms like iTunes, Google Play, and Amazon allow users to rent or purchase individual movies or episodes.
Social Media Platform – Platforms like Facebook, Instagram, Twitter, and TikTok have become significant channels for distributing short-form video content. These platforms are ideal for viral marketing, brand promotion, and engaging directly with audiences.
Video Sharing Websites – YouTube is the most prominent platform, offering both AVOD and TVOD models. Vimeo is another popular option, known for its high-quality video support and subscription services for content creators.
Broadcast and Cable Television – Despite the rise of digital platforms, traditional TV remains a significant distribution channel, especially for live events, news, and sports. Digital television and smart TVs also integrate internet streaming and traditional broadcasting.
OTT Platforms (Over-The-Top) – OTT platforms bypass traditional media distribution and provide content directly to viewers over the internet. This includes both SVOD and AVOD services, as well as specialized platforms for sports, independent films, and international content.OTT services are typically accessed via websites on personal computers, apps on mobile devices (such as smartphones and tablets), digital media players (including video game consoles), televisions with integrated Smart TV platforms, and streaming devices such as Amazon Fire TV and Roku.
Film Festivals and Cinemas – Digital distribution through film festivals and online film markets has become more common, offering filmmakers a platform to showcase their work to distributors and audiences. Additionally, digital projection in cinemas allows for the distribution of movies without the need for physical reels.
Direct-to-Consumer (D2C) Websites and Apps – Many content creators and producers are launching their own websites and apps to distribute their video content directly to consumers, bypassing traditional intermediaries and retaining more control over their work.
These channels offer various advantages in terms of reach, audience engagement, and monetization strategies, allowing content creators to choose the best platforms for their content and objectives. The choice of distribution channel largely depends on the type of content, target audience, and desired business model.
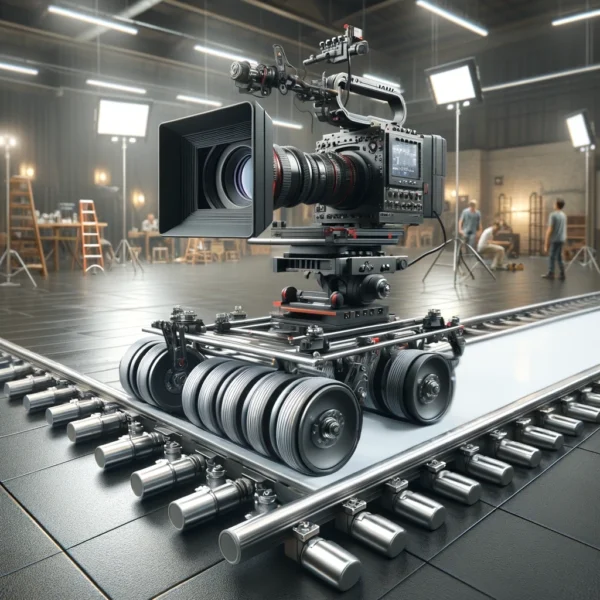
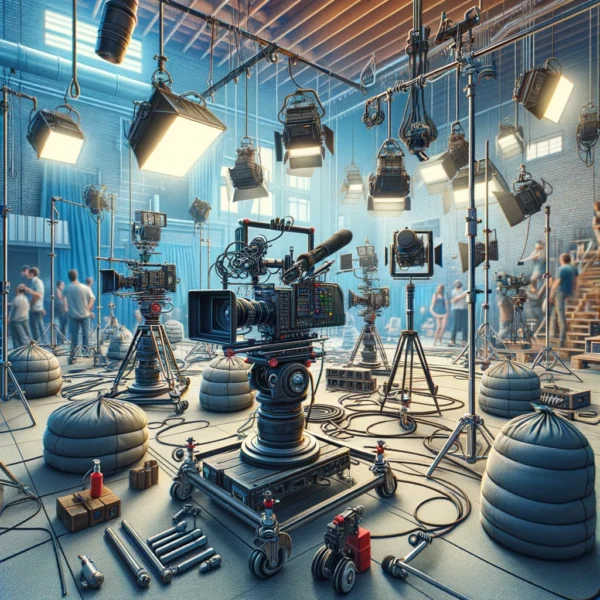
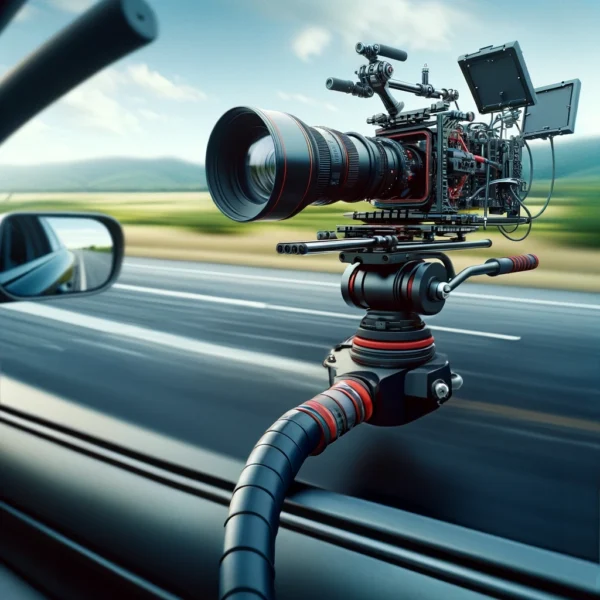
Dollies, Grip Support, Rigging and Mounts
During film production, the terms “Dollies,” “Grip Support,” “Rigging,” and “Mount” refer to equipment and techniques used to support and move cameras to achieve various cinematic effects. Let’s define each term and then I’ll provide illustrated, photorealistic images for each.
